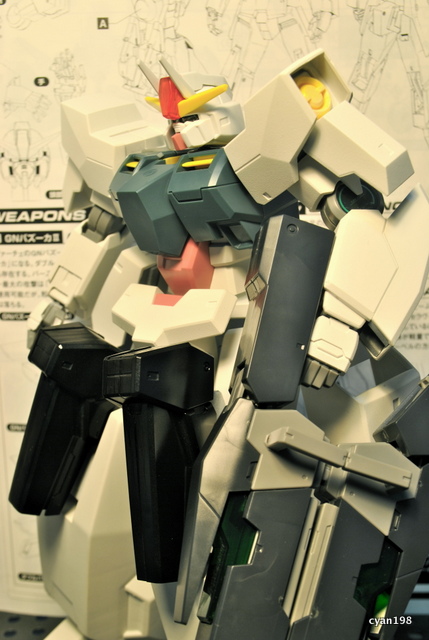
And so the next build is on! ^^ It's Seravee Gundam Designer Color, from Gundam 00 2nd season.
Actually want to buy 00 Raiser designer color, but out of stock -_- Seravee still on stock, so I thought might as well upgrade my most sentimentil gunpla (you know who) hehe..
So in the past two weekends, I have started Seravee build. I change my building steps on this kit.
1. Now I'll do snapfit until finish before sanding the visible excess sprue, before I snap and sand first before putting all together.
2. During snapfit, I also prepare for easy disassembling later by cutting the male peg diagonally (sorry didn't take pic -_-). I may need to disassemble for sanding and painting later (tiny chance i'm gonna do it)
Anyway some comments on the parts (above, comparing with the anime illustration):
1. The clear part on center of the head supposed to look red, but the sticker inside doesn't really do the job.
2. The eyes when LED is on, doesn't have shape since the light is scattered.
3. The small lowered hole in the chest, looks unrealistic. Supposed to be screw-like hole, don't know how to make it looks real, hand paint, drill a hole and put some small screw? *chicken out* XD
So at least I did something with the first two. I painted the clear part with semi clear red. And I cut eyes shape holes on the eyes sticker (which wasn't used anymore), to only allow light through the eyes hole. There're still detail flaws on the hole I need to fix though. Looks better right? Now what to do with the chest? :-\
And as usual the seam lines hell XD I never removed seam line before. Maybe I'll try this time, but on different kit first, maybe blue destiny..
So this is as far as i get last two weekends, still looking plain without decals and lining :) No it isn't finish snapfitting yet, since Seravee has 'two' bodies XD
~till next post..